
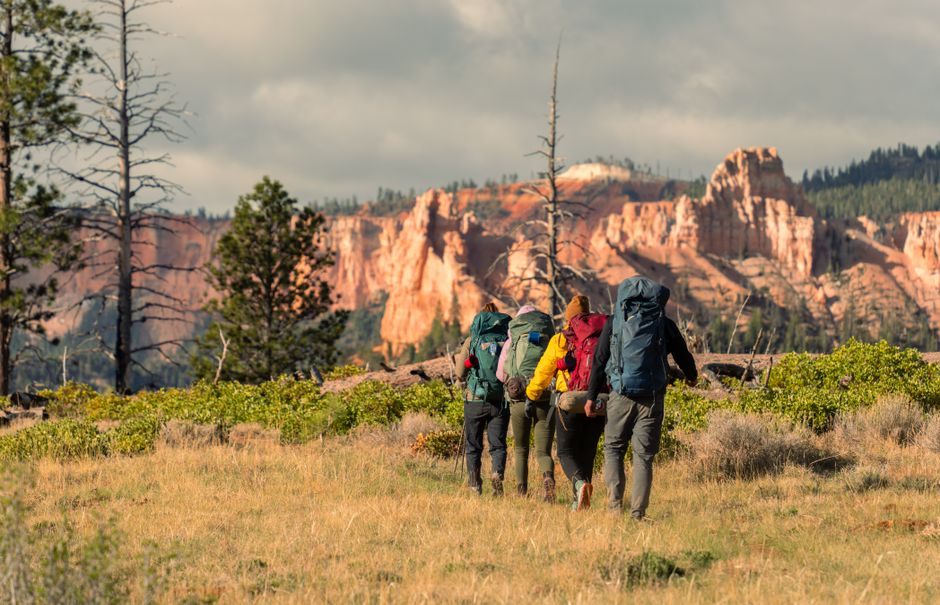
You’ve booked the flight. You’ve got the rough route sketched on a napkin. Now you’re staring at a wall of backpacks at REI or scrolling endless comparison videos, and every single one claims to be ‘the one.’ Here’s the truth: most backpackers buy the wrong pack first, then spend the next six months fixing that mistake with more purchases. This guide cuts through that. No fluff. Just what to buy, what to skip, and the exact models worth your money.
Start With the Pack, Not the Accessories
Every packing list online starts with ‘choose your backpack’ and then shows you 40 accessories. That’s backwards. Your pack size dictates your entire trip style. A 70-liter monster forces you to check luggage, wait at carousels, and dread every bus transfer. A 28-liter pack forces you to do laundry twice a week but lets you walk onto any flight for free. Pick the size first, then build everything else around it.
Why 40 Liters Is the Sweet Spot for Most People
The Osprey Farpoint 40 ($185) remains the default recommendation for a reason. It opens like a suitcase, fits in most overhead bins, and has a suspension system that doesn’t destroy your shoulders after three hours of walking. I’ve watched people carry this pack through Southeast Asia, South America, and Europe without a single complaint. The Deuter Aviant Carry On 28 ($149) is the better pick if you’re doing a shorter trip — under three weeks — or you’re committed to ultra-light travel. It weighs just 1.03 kg empty. For comparison, the Farpoint 40 weighs 1.58 kg. That half-kilo difference matters when you’re standing in a 45-minute customs line.
When NOT to Buy a Travel Backpack
If you’re doing a single-destination trip — say, two weeks in one city with a day pack — do not buy a travel backpack. Buy a regular carry-on roller and a small daypack. Travel backpacks make sense when you’re moving between cities every few days, taking trains, walking from bus stations to hostels. If you’re not doing that, a roller is easier on your body and your clothes stay less wrinkled. Don’t buy gear for a trip style you don’t actually have.
What to Buy: The Short List That Actually Gets Used
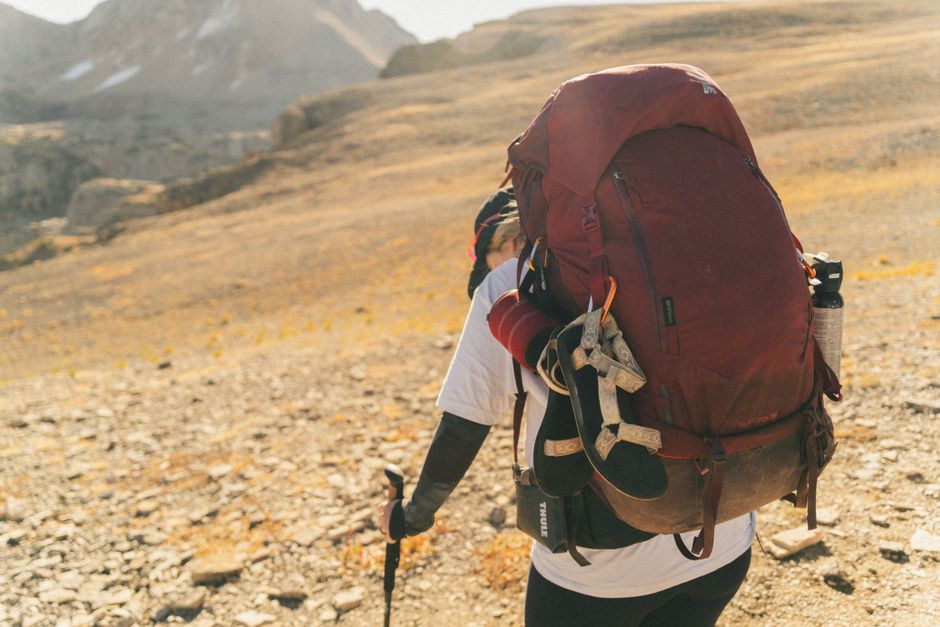
Most ‘backpacking essentials’ lists are written by people who want you to buy 60 items. Here’s what actually gets used every single day, based on watching hundreds of backpackers go through the same cycle of buying too much and ditching half of it in a hostel donation bin.
- Packing cubes — the Eagle Creek Pack-It Reveal set (3 cubes, $39) turns a chaotic pack into organized drawers. Compression cubes save maybe 15% more space but add weight. Regular cubes are fine.
- A real travel towel — the Matador NanoDry ($35) packs down to the size of a deck of cards and dries in 20 minutes. Hostel towels are a gamble. Sometimes they’re free. Sometimes they’re $5 and smell like mildew.
- A universal plug adapter with USB-C — the EPICKA Universal Travel Adapter ($23) covers 150+ countries and has two USB-C ports. Skip the cheap $8 ones. They fall apart in week two.
- A 10,000mAh power bank — the Nitecore NB10000 ($60) weighs 150 grams and is the lightest power bank in its class. Your phone will die at the worst possible moment. This fixes that.
- A headlamp — the Petzl Bindi ($35) weighs 35 grams and lives in your daypack. You’ll use it on overnight buses, in dorm rooms after lights-out, and during power outages. A phone flashlight works until it doesn’t.
That’s the core list. Everything else is optional. If you’re on a budget, buy these five items and spend the rest of your money on the actual trip.
The Mistake Everyone Makes: Buying Too Much ‘Just in Case’ Gear
Every first-time backpacker does this. You buy a rain cover, a portable mosquito net, a water filter, a multi-tool, a clothesline, a sleeping bag liner, and a solar charger. Then you use exactly one of those items — the clothesline — and you could have just used a shoelace. The rest sits at the bottom of your pack, adding weight and taking up space, until you leave it at a hostel in Chiang Mai with a note that says ‘free to good home.’
Here’s the rule: if you can buy it at your destination for less than $10, don’t pack it. Rain covers, mosquito repellent, basic toiletries, laundry detergent — every country on the backpacker trail sells these. You’re not going to the moon. You’re going to places where other backpackers have already created demand for exactly the things you think you need to bring.
The one exception: prescription medications and anything you need for a specific medical condition. Bring those. Everything else, buy there.
Fabric, Weight, and the Numbers That Matter
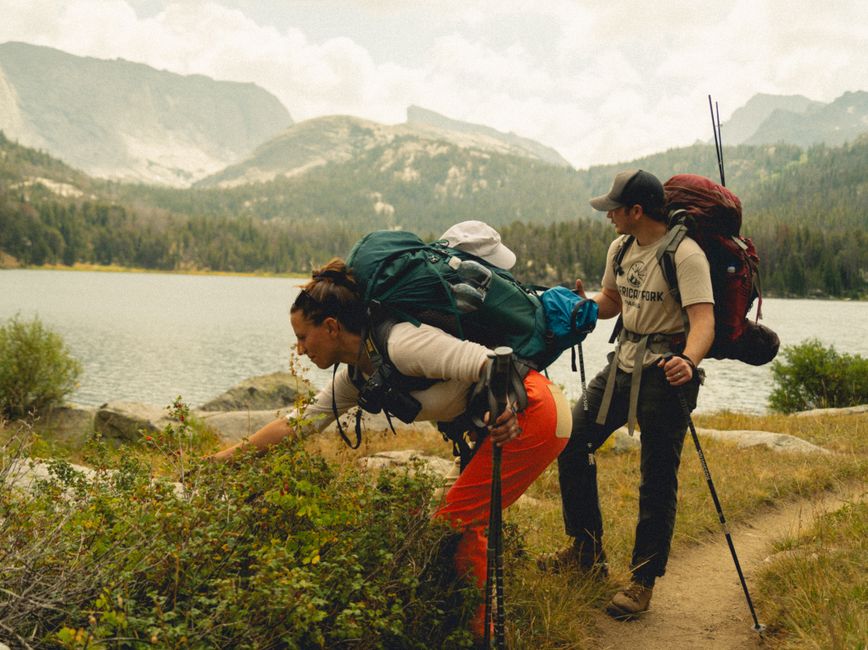
Backpack marketing is full of jargon. Here’s what actually matters when you’re comparing packs side by side.
| Pack | Weight (empty) | Volume | Laptop Sleeve | Price |
|---|---|---|---|---|
| Osprey Farpoint 40 | 1.58 kg | 40L | Yes (16-inch) | $185 |
| Deuter Aviant Carry On 28 | 1.03 kg | 28L | Yes (15-inch) | $149 |
| Cotopaxi Allpa 35L | 1.58 kg | 35L | Yes (15-inch) | $220 |
| REI Co-op Ruckpack 40 | 1.36 kg | 40L | Yes (15-inch) | $149 |
The Cotopaxi Allpa 35L ($220) deserves a mention. It’s the most stylish of the bunch and the internal organization is genuinely clever — the zippered mesh compartments mean you can find things without unpacking everything. But it’s heavier than the Deuter and more expensive than the Osprey. Buy it if you care about looks and organization. Buy the Osprey if you want the proven default. Buy the Deuter if you want to go light.
Packing Strategy: The Real Skill Nobody Teaches
The gear matters less than how you use it. I’ve seen people with $500 packs that looked like they were carrying a body bag, and people with $40 Decathlon packs that were perfectly organized. The difference is strategy.
Step 1: Lay Everything Out, Then Remove Half
Put every item you think you need on your bed. Now remove half of it. Not metaphorically. Literally pick up each item and ask: ‘What happens if I don’t bring this?’ If the answer is ‘I’ll buy it there’ or ‘I’ll be slightly less comfortable for one evening,’ remove it. You’ll end up with about 35 liters of stuff. That’s the right amount.
Step 2: Roll, Don’t Fold
Rolling clothes saves about 20% more space than folding and reduces wrinkles. But don’t roll everything. Roll t-shirts, underwear, and socks. Fold button-up shirts and pants. Use packing cubes to separate categories — one cube for tops, one for bottoms, one for dirty clothes. The dirty clothes cube is the one thing most people forget. Without it, clean and dirty clothes mix together and everything starts to smell like a gym bag by day four.
Step 3: Heavy Items at the Bottom, Against Your Back
Put your heaviest items — laptop, shoes, toiletry bag — at the bottom of the pack and closest to your spine. This keeps the weight centered over your hips instead of pulling you backwards. If your pack has a hip belt, use it. That’s not optional. The shoulder straps should carry maybe 20% of the weight. The hip belt carries the rest.
Final Verdict: What to Buy, What to Skip, What to Do Next
If you’re starting from zero and want one recommendation: buy the Osprey Farpoint 40, the Eagle Creek Pack-It Reveal cubes, the Nitecore NB10000 power bank, and the EPICKA Universal Adapter. That’s about $307 total. Everything else, buy at your destination. You’ll save money, carry less weight, and avoid the donation-bin cycle that every overpacked first-timer goes through.
Skip the rain cover, the water filter, the solar charger, and the ‘travel clothesline.’ You don’t need them. You need less stuff, not more stuff. The best backpacking guide isn’t a list of 100 items. It’s the discipline to leave 50 of them at home.
